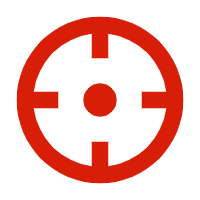
Crosshair Settings: Dot, Outline, Length and Gap
A useful crosshair is not always the loudest one. It should not steal attention from a target, yet it should survive a busy background. Choose settings for landing-point recognition rather than a copied parameter string.
What the dot and outline each solve
A center dot gives a precise landing reference, especially for micro-adjustments and distant targets. An outline provides a boundary on bright walls, floors or target edges so the main color does not disappear.
A default outline does not need to be thick. An over-heavy outline makes the crosshair feel crowded inward and can hide the actual center.
Balance length, gap and thickness
Very short lines communicate little direction; long lines hide the target. Gap controls how open the center feels: too small crowds the dot and arms, too large creates extra visual confirmation.
Start with medium length, a clear gap and a thin line. Change one control at a time, then use Micro Adjustment to see whether distant small targets are easier to confirm.
Do not choose color from a static preview
White often disappears in bright environments. Cyan, green or another high-contrast color tends to survive more backgrounds. AimTrainer has light and dark changes in the range, so play at least two rounds after choosing a color and check visibility around targets.
A practical adjustment order
- Enable a center dot and outside outline first.
- Fix the color, then adjust length and gap.
- Use thickness only to finish visibility.
- After each change, play two Micro Adjustment and two Three-Target rounds; do not judge from the settings preview alone.
Before importing a setup
Crosshair settings apply to the center reticle in the training range. Rendering, resolution and FOV differ between games, so use this as a reference configuration rather than a promise of an identical in-game image.